29 Sep Face Fitness
Face Fitness
On week 56 we are sharing a fun post on facial exercises and we wish you enjoy them, please share and like if you do.
We know that exercising we can firm up the body and revitalize the skin by bringing more blood and moving the lymphatic fluids. Naturally, the same is true about the muscles in the face and neck, right? it makes sense muscles don’t stop at the neck. As your muscles and connective tissue tones up by exercising, your skin will tighten by the simple fact that the muscles are attached to the skin by facia and the skin will become more resilient and elastic as well!
With facial exercises, you not only regain that look you thought it can be completely lost for whatever reason, but you’ll also grow mature, looking radiant and glowing with a well-toned complexion, more relaxed in your jaw muscles neck and scalp and by the way a scalp that has relaxed muscles and a proper blood flow will sustain great hair!!!! So as you can see is many benefits to these exercises, for me, they also made me aware of the gestures I was doing with my face that were not so flattering is kind like what observing a good body posture does and also how we breathe, is becoming more aware anyway that is an entirely another post and I will write it, posture is important to the whole wellbeing.
Thank you for your consistent support and all your shares we deeply appreciate it, from all of us.
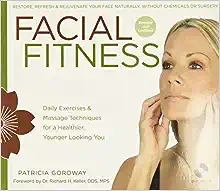
Facial Fitness by Patricia Goroway
Patricia Goroway has taught facial exercise and facial massage for more than 10 years with extreme success to clients and health care professionals around the world. Patricia Goroway techniques have been teaching facial exercise and facial massage for more than 10 years to clients and health care professionals around the world. Her techniques have proven to be one of the top leading facial exercises featured in fitness magazines and web sites such as Woman’s Health and Livestrong.com. She has a best-selling book, Facial Fitness is one of Barnes & Noble Publishing’s leading health and beauty book and also there is a full-length DVD included where she demonstrates the facial exercises and massage techniques in a fun and energetic format. Patricia Goroway is now offering a Certified Instructors Course to those wishing to add specialized exercise and massage techniques to their clients. This certification is the first and the only course of it’s kind and available exclusively through Facial Fitness Systems, Inc.
I recommend her products we are not in any way selling them do we wish we did the system is fantastic and she is a wonderful teacher. enjoy and here is the link to find it.
Facial Fitness: Daily Exercises & Massage Techniques for a Healthier, Younger Looking You
As we get more mature, the muscle fiber in our bodies tends to atrophy and become less with time especially when we don’t use it.
As muscle shrinkage (atrophy) is concerned, it’s debatable whether the loss of fibers from individual muscle cells or loss of cells themselves this is an important issue involves many factors so each case is different. Let’s see what atrophy of muscles is. Atrophy referring to muscle really means that the bulk of the muscle is lost or largely diminished. In other words, the term is really a “universal” one. Bottom line it does not, however, address what is happening on a “cellular” level. And, it is what happens on a cellular level that helps us to understand how and why exercising the face can bring not only a more lively look but a healthier one, also.
A facial workout regimen is an excellent way to tone your muscles, and prevent muscles from sagging, moving lymphatic fluid to reduce puffiness, increase circulation and actually revitalize the whole system is very soothing and calming, we hold a lot of tension in our jaws, neck, and shoulders.
Doing facial exercises, facial yoga, and acupressure points for that matter is a great way to keep your face looking healthy, radiant, well-toned and alive and at the same time firming muscles and reducing puffiness and increasing elasticity, those are some of the many benefits including reducing tension, stress, etc.
These are also good exercises to do if you have muscle challenges like droopiness on your face, and neck, creating stronger muscles for a toned and more healthy skin.
The Muscles of The Face
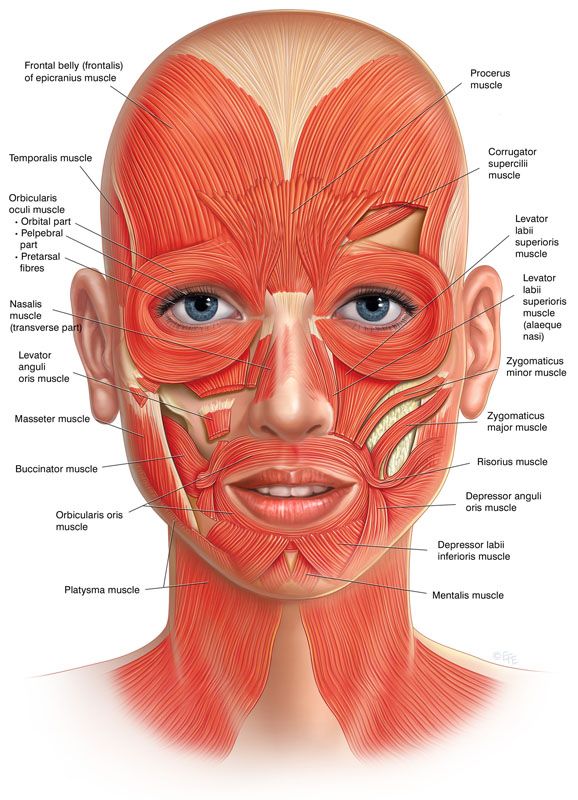
There are 43 muscles in your face, most of which are controlled by the seventh cranial nerve (the facial nerve)
This nerve comes from the cerebral cortex and emerges from the skull just in front of our ears. And it rules your whole system.
It is not yet fully agreed by science how many muscles really exist due to the fact that some muscle tissue can’t be separated into countable muscle, also some peoples muscles are more divided than others, with that been said we continue with what we are addressing here and that is exercising our faces and neck.
The muscles divide into 5 primary branches and they are: temporal, zygomatic, buccal, mandibular and cervical. As we exercise them we also have the added benefit of adding relieve to eye strain, scalp tightness, releasing neck stress, shoulders pain, jaw tightness TMJ, tension headaches, facial tension and with facial exercise we can create a sense of total relaxation, in an average we don’t realize that focusing on our phones computers and in general being stress contracts and put a lot of strain on our muscles in general and in the face we start to create grooves and lines of expressions that not always suit us. Creams and potions can aid in some matters to soften the top layer but definitely does not tone muscles or weight lifters and Gyms will be only using creams that to do the work out for them, makes sense right?
The body makes skin, muscles, etc from the inside out not the other way around,
Investing in some work for your facial muscles can help give in a major way to accomplish a radiant toned face. We need to make it clear that it will take consistency and maintenance it doesn’t happen in a week of exercising also everyone is different.
Is a normal process for our body and that includes the face to go through stages, our face changes as we go through life, so many factors contribute to this diet, sleep, stress levels, the amount of water we consume, overeating sugar, oxidation due to smoking or excess alcohol, etc? It may begin to lose elasticity and tone, accumulating fluid, droopiness, lines from expressions, that indicate either lengthening years or deepening character, depending on your viewpoint, and it can create just flat out frustration, almost invariably, to sag and look tired.
Let’s address sagging this is a process in large part because the fat pads that underlie the skin on our faces became thin ether with age, and other facts of life the muscles lose her tone. When we are in our early years, these pads snuggle together like puzzle pieces, providing much of the structure and the contours of our faces. When the pads change as we go through life, their connections start to loosen and gravity begins to draws them downward also the lost fast that keep the moisture diminishes and we lose that glow, elastin and collagen also diminish with stress, lack of sleeping diet to mention a few factors leaving cheeks hollowed and visages generally droopier and with a lack of life and radiance, circulation plays a great roll on this so when we decrease it with exercise, gentle massage, acupressure, radiofrequency and other new modalities we can have great results, still keeping in mind diet, sleep hydration and such.
Nowadays there are many different kinds treatments like injecting fat and fillers as an option in many cases the underlying loss of luster and tone is still there, and it is at the expense of thousands of dollars.
Plastic surgery is an attempt also but soon enough people are right back where they started after paying thousandths of dollars, going through full anesthesia and many risks the tone in the face has not bee restored in most cases and in some as you may have observed due to not so good of work from some surgeons the face looks unnatural and no longer is the same looking person.
When we see surgeries that obviously are pulling and cutting the skin but not addressing the muscles underneath it shows unnatural, more and more surgeons are getting that working with the muscles in a SUBTLE way gets better results.
I have a dear friend that has done 4 plastic surgeries and she is basically back where she started !!!!! no tone on her muscles and the elasticity from no circulation or proper diet not to mention stress, yes stress big one for skin, it works against her all day and night what we don’t use we lose that unfortunately is a fact.
People are starting to realize what an important role the muscles play in creating the contours of the face, doesn’t it make sense? they hold the skinned oh yes the bone structure. These facial muscles need to be exercised specifically and correctly to have an optimal result. When the facial muscles sag, the skin attached to the muscles also sags because they are attached to each other. the process of facial toning exercises brings and maintain healthy radiant maintenance.
Face exercises help restore the muscle tissue, elasticity and tone for a wonderful, glowing, look.
The exercises are based on the principle of gentle, easy facial muscle resistance, effective relaxation techniques, visualization, and breathing exercises yes breathing big part of skin and muscle toning and with that, you will achieve amazing results.
Breathing is a very big part of good and supple skin, yes that is correct our skin is the largest organ in our body and it breaths also somewhat absorbs nutrients, many companies claim huge amounts of abortion through the skin when they recommend products if this was the truth when we take a bath we would drown, the skin has a regulation mechanism to protect us from harm. So we that been said to correct conscious breathing is a very large part of keeping the skin and overall health in top condition. In Chinese Medicine, the lungs are the ruler of the skin.
The exercises will increase the blood circulation, which increases the natural collagen and elastin in the skin by adding blood and oxygen and creating a more vibrant complexion. The skin will become more elastic and softer to the touch and it will look at life.
Facial exercises strengthen and tone all muscles in the face, neck, and scalp. It’s best to start and create a routine like a spa time for your self, it will relax your entire nervous system.
You will educate your facial, neck and scalp muscles to work and remember how they need to work as they should, you probably know the saying what you don’t use you lose.
Your mind-muscle connection combined with the exercises will increase blood circulation to the face, neck, scalp, and hair, enriching every cell with more oxygen and nutrients, restoring facial and neck muscles that have been overstretched by time, gravity and stress to a healthy, energized, well-toned condition at your own convenience at the pace of your dedication.
Now let’s move to the actual exercises.
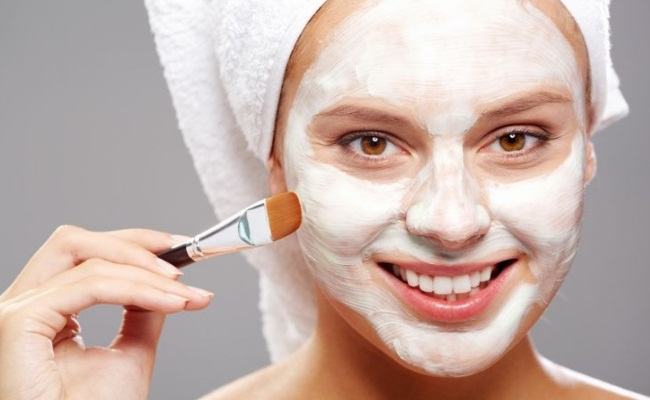
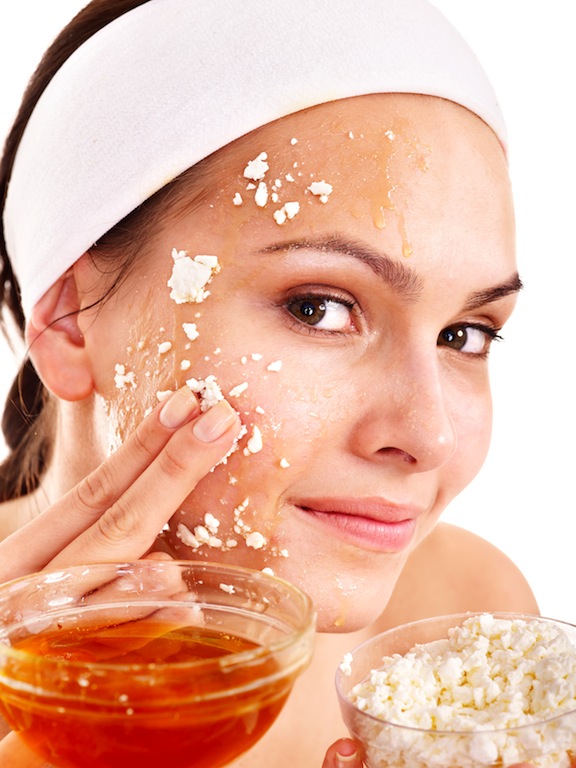
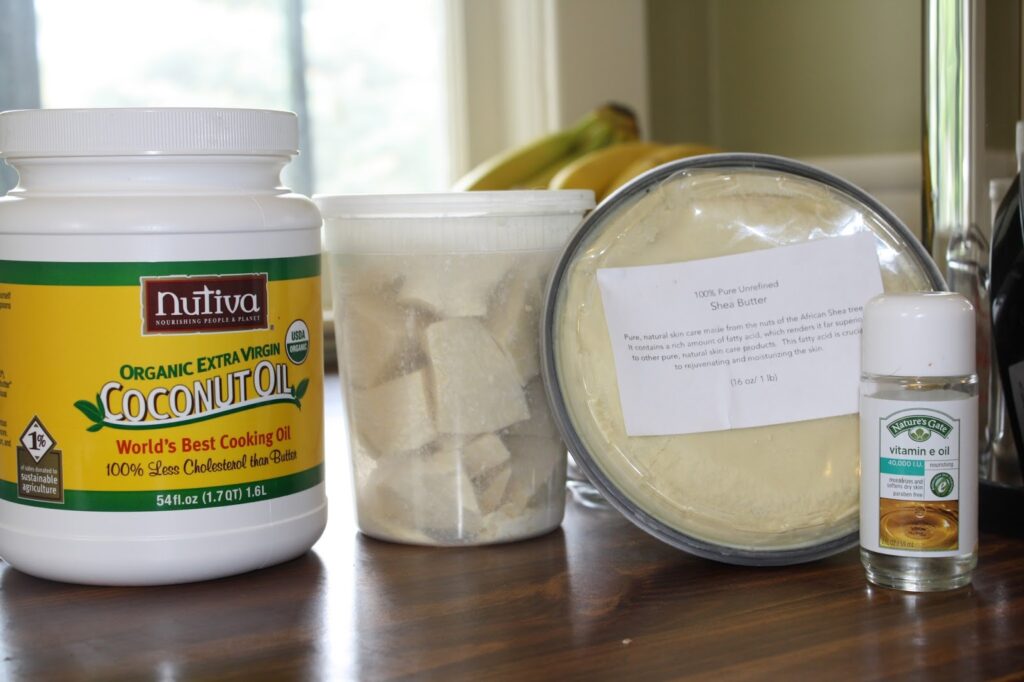
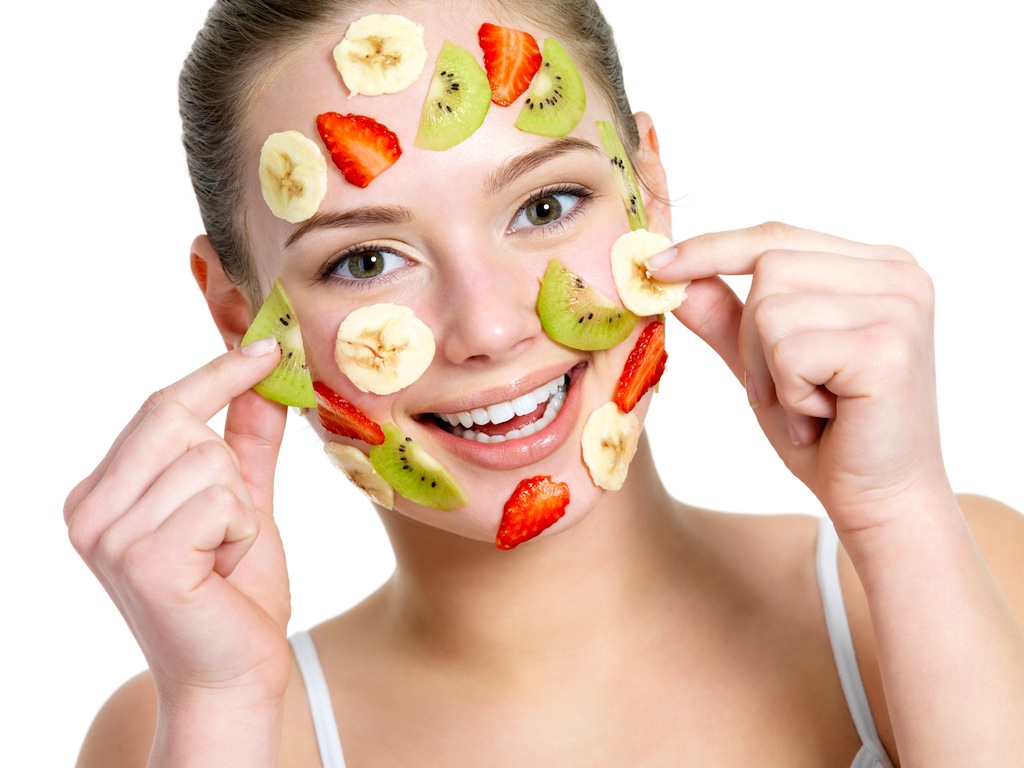
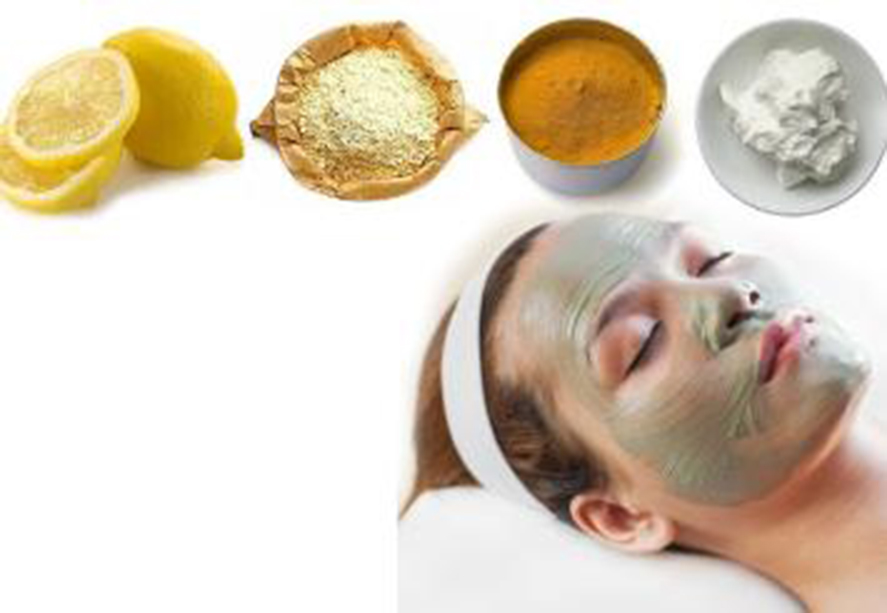
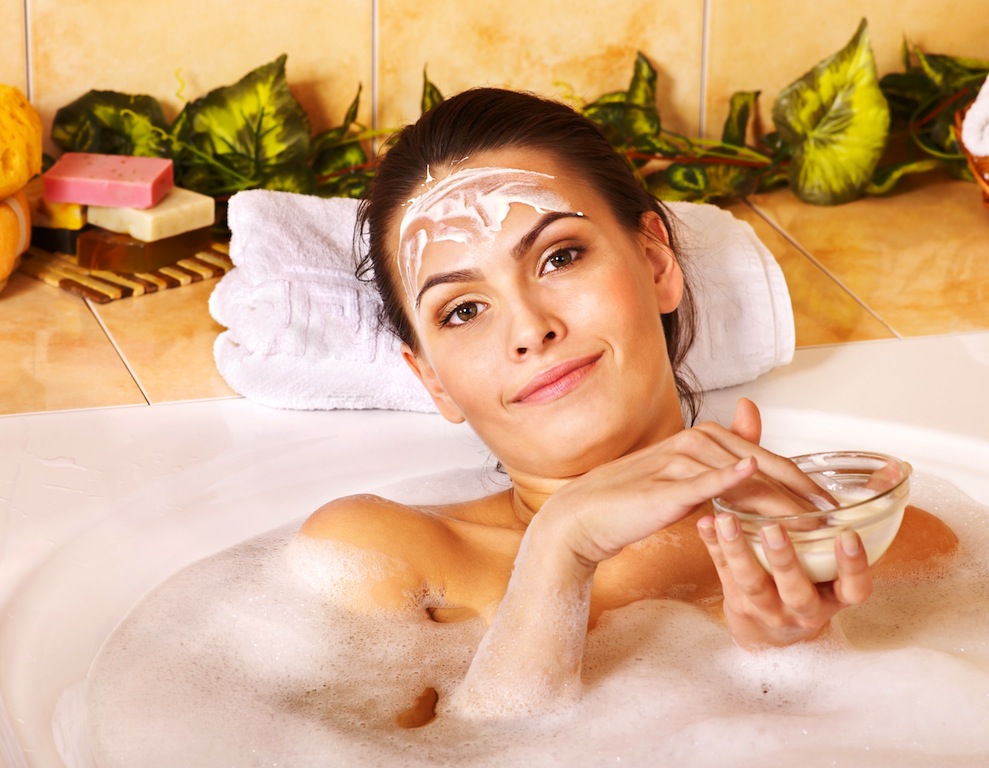
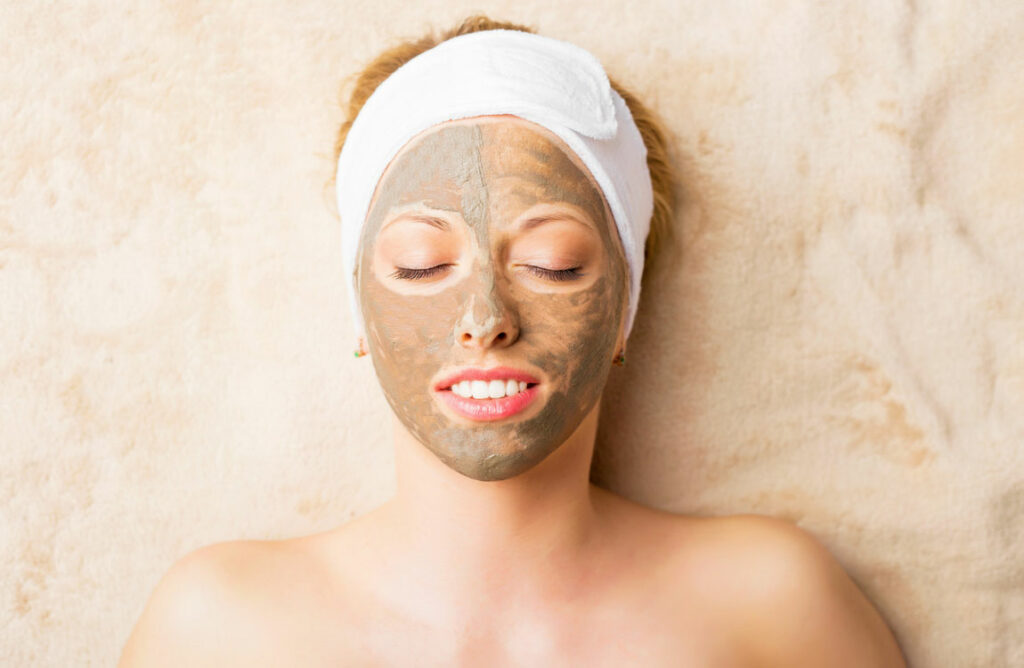
Let’s start with the first step clean your skin if you have time apply a mask and after you remove it, make sure to use a rich moisturizer if it is your preference I love to use oils as a moisturizer and I will introduce you to them here is the link
this is a must so you don’t hurt the skin, you can always remove the excess at the end if it didn’t absorb.
I will introduce you to a couple of sets of exercises, here we go.
1 Gently pull-on your forehead with your index finger. Using just your fingers, you can apply pressure to your forehead so that shifting your eyebrows can strengthen that part of your face. This can help smooth lines on your forehead.
Put your index fingers just above each of your eyes.
Pull down on your eyes while trying to raise your eyebrows.
Repeat 10 times to help firm your forehead.
2 Push your forehead with your hands. This simple exercise uses your palms to create resistance while flexing your eyebrows. Doing this workout will help create smooth lines on your forehead.
Place each of your palms on the sides of your forehead, the bottom of each palm resting on your eyebrows. Your palms should be holding the skin firmly in place.
Raise your eyebrow muscles, like you are surprised, then lower them, like you are angry.
Raise and lower 10 times, then raise and hold for 30 seconds. Lower and hold for 30 seconds, then repeat the up and down against 10 more times.
3 Do brow lifts. Using your fingers and your eyebrows, you can exercise the muscles in your forehead. Just a little bit of pressure can create enough resistance for good exercise.
Using two fingers in a peace sign, and place your fingernails over each eyebrow.
Gently push that skin down with your fingers, then push your brows up and down.
Repeat the up and down motion with your brows 10 times.
Do 3 sets of 10, take a short rest, then do another 3 sets of 10.
4 Stretch your eyelids. Your eyelids are easy muscles to work and don’t need much resistance. Using your fingers can help you stretch them out, removing wrinkles and giving you stronger eyelids.
Sit down and close your eyes.
With your lids relaxed, use your index fingers to lift up your eyebrows. While lifting, keep your eyes closed to stretch your eyelids as far as possible.
Hold this position for 10 seconds, then relax and repeat 10 times.
5 Do an eye squeeze. Work your eyelids further by squeezing your eyes shut with a little stretching resistance from your mouth. Because it uses so many different muscles, this exercise can help to stretch out your entire face, not just your eyes.
Pull your lips downward so that your facial muscles tighten, then pull your lips to one side.
Squeeze one eye shut for one second, then repeat 10 times, holding your lips to the side. Then do the other eye.
Do 3 sets of 10 for each eye, take a short rest, then do another 3 sets of 10.
6 Stretch your face while holding your eyes. This will help to build the muscles around your eyelids to give you more awake-looking eyes. Use your fingers to provide some resistance to the basic action of opening and closing your eyes.
Make a C around your eyes using your thumbs and index finger. Make sure your index finger is over your eyebrow and thumb against your cheek.
Shut your eyes, and slowly squeeze your eyelids close together. Relax the tension without opening your eyes
Repeat squeezing and relaxing your eyelids 25 times.
Exercising Your Mouth
1 Exercise by smiling. One of the simplest ways to firm up your smile is to practice doing it. In this exercise, you’ll slowly move your mouth into the position of a full smile, holding different positions. This will give you better control of your face and smiling capabilities.
Slowly begin to smile by stretching the corner of your mouth laterally, lips still together.
After that, turn your mouth upward to expose your upper teeth.
Smile as widely as you can, displaying your teeth.
Once you have reached that point, slowly relax your mouth, bringing the smile back to the starting point.
Stop at several stages on this expansion of your smile, and hold that position for 10 seconds.
2 Apply pressure to your smile. Similar to the last exercise, this one using different stages of your smile to work the muscles in your face. Here, your fingers will provide extra resistance to further work the muscles around your mouth.
Make a full smile, and use your fingers to hold it in place by putting pressure on each corner.
Close your lips halfway, then fully, using your fingers to resist the movement.
Hold each position for 10 seconds.
3 Do facelift exercise. This exercise works the muscles around your upper lip to help prevent sagging and keep a strong lip contour. Doing it properly will help you have a stronger smile that shows more of your upper teeth.
Open your mouth slightly and flare your nostrils. Wrinkle up your nose as far as possible, then slowly draw your upper lip as high as you can, and hold for 10 seconds.
Leave your mouth slightly open, and place one finger under the eye on the cheekbone. Curl your upper lip slowly upward, keeping finger pressure on your face. Hold for 10 seconds, then slowly return to the original position.
4 Do a lip exercise. This is a simple exercise that will help increase the blood flow to your lips. This will give the fleshier parts a healthier, livelier, and more natural color.
Open your mouth slightly, making sure your upper and lower lips are relaxed.
Bring your lower lip forward until it makes contact with your upper lip.
Bring your upper and lower lips inward to your mouth. Exert pressure, then relax.
5 Do a mandibular strengthening exercise. This exercise works your mandible, the lower jaw, and important part of smiling, talking, and chewing, as well as anything else your mouth does. An exercise like this will help to prevent a double chin and prevent aging grooves on the lower part of your face.
Keep your mouth, especially your teeth and lips, slightly closed.
Separate your teeth as much as you can without opening your lips.
Bring your mandible forward slowly. Go as far as you can, stretching your lower lip upward, and hold for 5 seconds.
Slowly return your jaw, lips, then teeth back to their original position.
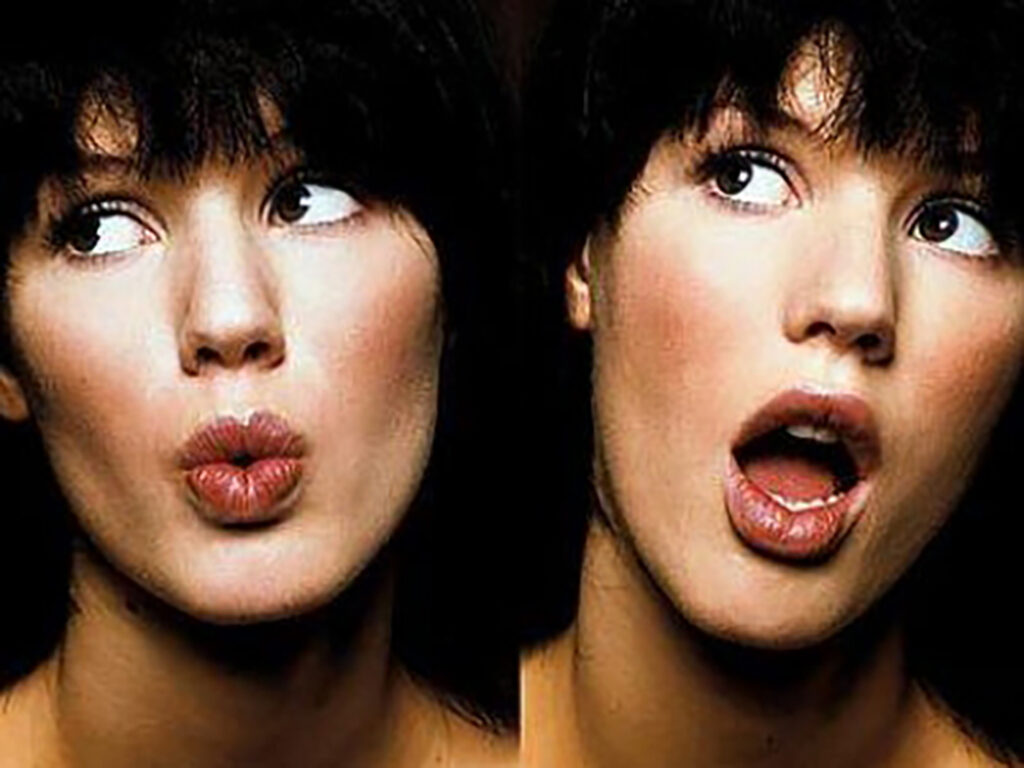
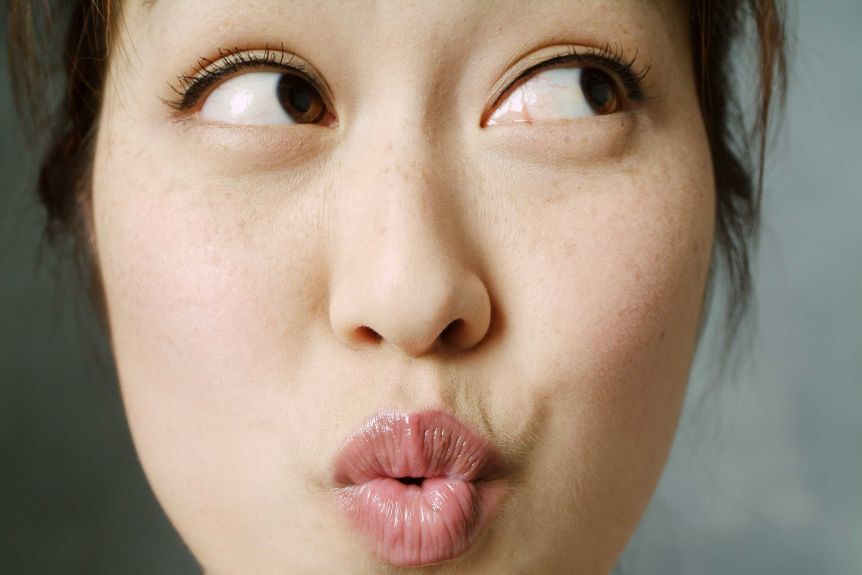
6 Do the OO-EE mouth. Moving your mouth to some basic sounds can help you target the lips, as well as the muscles between your upper lip and nose. This is a simple exercise that only requires some exaggerated facial movement while making sounds.
Open your mouth, then purse your lips together so that your teeth are separated and not showing.
Say “OO,” using an exaggerated movement to purse your lips together.
Change sounds to “EE,” again using an exaggerated motion to stretch your lips into the proper shape. You can also replace “EE” with “AH” for a slightly different workout.
Do 10 reps between “OO” and “EE,” then repeat for 3 sets.
7 Suck on your finger. Use the natural pressure from a sucking motion to firm up your lips. By removing it at the same time, you’ll be able to provide additional resistance to work against.
Put your finger in your mouth, and suck on it as hard as possible.
While doing that, slowly removing it from your mouth.
Repeat 10 times.
Press on your cheeks while smiling. This will help strengthen your cheek muscles. Make sure to keep your head back when you do this exercise.
Press down on your cheeks with your three middle fingers.
While pushing, smile as hard as you can to push your fingers back.
9 Very Gently pull your cheeks up making sure you don’t overstretch the skin. Doing this exercise can help to smooth laugh lines and the fine lines around your under eyes skin make sure that you don’t pull that delicate skin and that you have enough moisturizer or oil when you do this. Your hands will be doing the work here, gently stretching the muscles on your face.
Place your palms firmly against your cheeks make sure not to press to the hard just firm.
Pull the corners of your lips up toward the upper part of your cheekbones until you can see your upper teeth and gums.
Hold the position for 30 seconds, release, then repeat 3 times, personally like to gently massage the area in between.
10 Squeeze your lips tight. Doing this will help to condition your lip muscles. Your hands will help do the work by squeezing your face around your mouth and nose. Make sure not to pucker this when done repeatedly causes deep creases so just squeeze like you are setting a lipstick.
Put the palms of your hands on your face, the outer edge of hands-on your laugh lines and the bottom edges where your index fingers are on the jawline. Use your whole palm to put gentle pressure on your face press and let go and repeat for 10 times.
.
Use your lip muscles (not your hands) to push your lips onto your index and middle finger together like you were kissing them and hold for 20 seconds.
Five best face yoga exercises
1 Warm-Up
How to do the exercise: Start your facial workout by blowing exaggerated raspberries with the lips, and with the cheeks as well as blowing. The bigger the vibration the better for relaxing facial muscles. Lip muscles are very important muscles of the face. By relaxing these muscles, other muscles are relaxed too and you will have a very relaxed and pleasant look.
Do it: At least once and up to three times per day this exercise can be done when you have a moment alone and is always one of those the day.
2 Slim Your “Tech Neck” Double Chin
How to do the exercise: Keeping your shoulders down and relaxed, tip your chin up to the ceiling until you feel a good stretch in the upper neck and chin area. Then, alternate making duck lips and sticking out your tongue, holding each “pose” for 5 seconds each. Repeat three times.
Make sure to keep your chin extended and keep your neck taut the whole while. This should feel a bit strenuous: If you don’t get tired, it’s not effective.
How often to do it: 1-2 times per day
3 Smooth Smile Lines
How to do the exercise: First off, don’t stop smiling and laughing! If you don’t smile, you’re not going to develop cheek muscle. Instead, tackle smile lines by breaking down the tension in the muscle from the inside out by using the tongue.
Starting up by the nose, where Hayashi says the lines tend to be deepest, “stick your tongue inside your mouth and make a tiny circle on the labial line.” Do five circles clockwise and counterclockwise on each side to smooth smile lines.
How often to do it: once per day
4 Firm Up Saggy Cheeks and Jowls
The droopy face look is no so cute it looks tired and sad. To help improve and perhaps remove the look of saggy cheeks,
( keep in mind to be realistic)pull your lips the right side of your face like you are kissing the right ear in what should look kind of like a sideways kissy-face. Hold for 10 seconds this is an effective exercise that “trains and stretches at the same time. It is a great way to improve skin elasticity.
How often to do it: 3-5 times per day, for best results
5 Help Eye creases and Crow’s Feet
Start by keeping both shoulders back and relaxed, bring your chin down to your chest and make an oval shape with your lips like going over your teeth and into your mouth. At the same time, look upward with just the eyes: try not to move your head or shoulders, you should feel stretching underneath the eye.
Stay here for three seconds, and then tuck the upper lip inside the mouth to make an “ahh” face. This round should give you a good stretch in the face it will relax the muscles and at the same time will tone them.
Once a day, no need for more. Is best not to overstretch the skin and the muscles in the face.
Enjoy and definitely pay attention to your diet, intake of water, stress and sleep all the exercises in the world won’t be able to counteract the oxidation and deterioration that these facts cause to your general wellbeing.
FACEBOOK LIVE SPECIAL: FACEMASTER PLATINUM FACIAL TONING SYSTEM PLUS $50 SUZANNESOMERS.COM GIFT CARD
AN INCREDIBLE FACIAL TONING DEVICE
The medical and technical team behind the revolutionary creation of FaceMaster have compiled years of research on how FaceMaster, with Advanced “Wave” Microcurrent Technology, can deliver affordable and beautiful results without invasive procedures. Be sure to read all of the many positive reviews above about this spa-quality microcurrent facial toning therapy machine – from real customers like you!
New sleek, efficient design allows for ease of use, portability, easy storage, and stability
Helps support the skin’s firmness, texture and reduces the appearance of fine lines
Contains a proprietary, specialized bi-phase symmetric square wave waveform specifically designed for optimal face muscle toning
The LCD display makes the FaceMaster easy to use with an intensity selector, program selector, feathering program and optional beeper
Two-Hand Wands enhance effectiveness and customization for all procedures
New Finger Wands designed for one hand only, same benefits as hand wands plus added flexibility to have one hand free
Foam Cap well with cover for easier storage and retrieval of foam caps
Newly designed Conductive Serum well for easier access, use and clean up
This complete system comes with:
• The FaceMaster Platinum Unit
• Platinum Hand Wands and Finger Wands
• Anti Aging e-Serum with GlycoPeptides [Note: e-Serum is currently on backorder and will be delivered at a later date.]
• Soothing Conductive Serum
• FaceMaster Foam Caps
• Usage and instructional manuals
• DVD
• 9-volt battery.
BONUS OFFER: Receive a $50 Gift Card to use at SuzanneSomers.com when you purchase this FaceMaster Toning System!